Adoquines Hundidos Español

Photo gallery: paving repair from the base up

In shortA gallery of photos from the stages of block paving work that matter most for repairs: lifting, spreading and levelling the sub-base, screeding the bedding, laying blocks against firm edgings, setting channel drains and compacting the finished surface.

What can you see in this gallery?

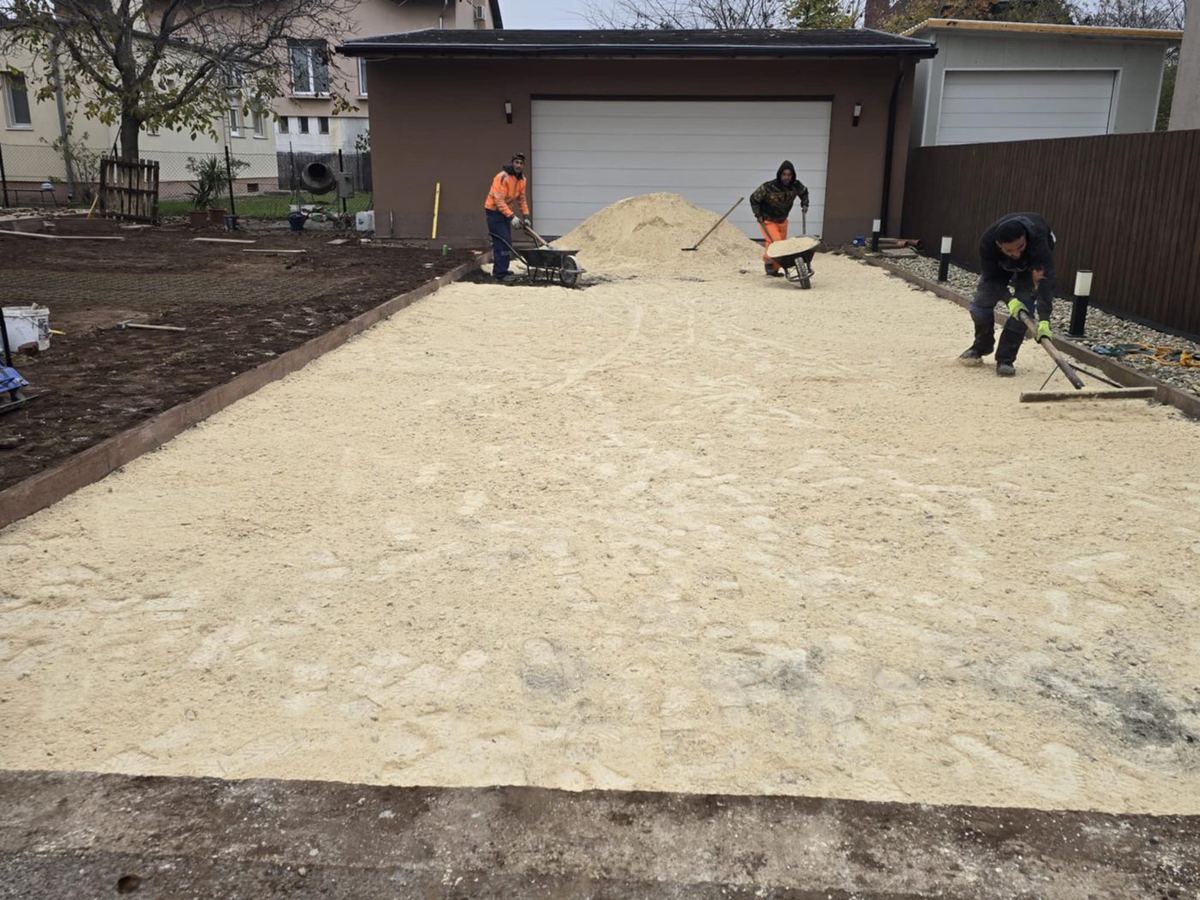
The photos below follow paving work through its hidden layers rather than showing only finished surfaces. You will find lifted pavers on a footpath, granular sub-base being spread and levelled in front of a garage, bedding screeded between edgings, blocks placed by hand on grit, a channel drain set between kerbs and a plate compactor working over relaid paving. Captions describe only what each picture shows.

If your own paving has sunk, rocks underfoot or holds water, comparing it with these stages helps explain what a proper repair involves. The repair work in pictures page describes each group of photos, and repair step by step explains the sequence. Send us a photo and the approximate m² – free, no-obligation quote.

Town footpath with pavers lifted to rebuild the base
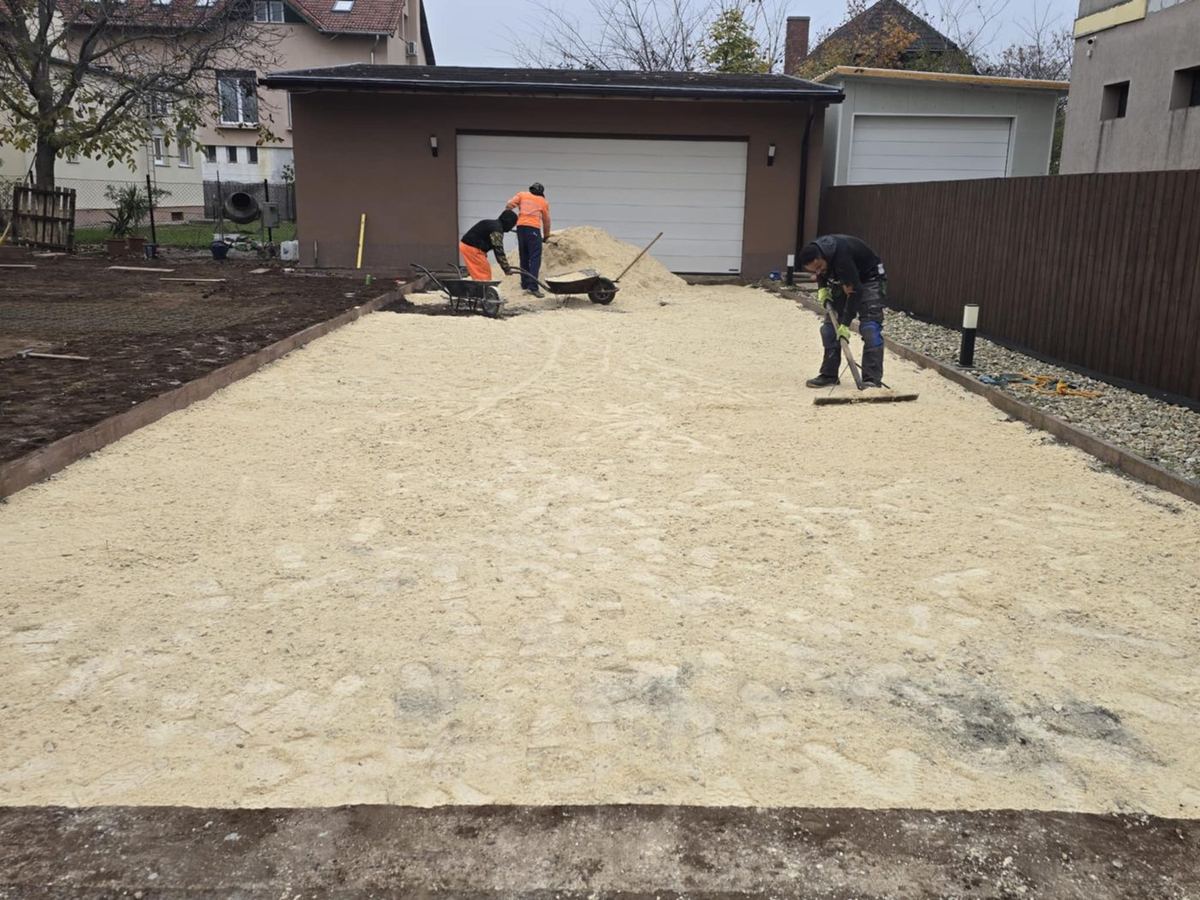
Spreading the granular sub-base in front of a garage
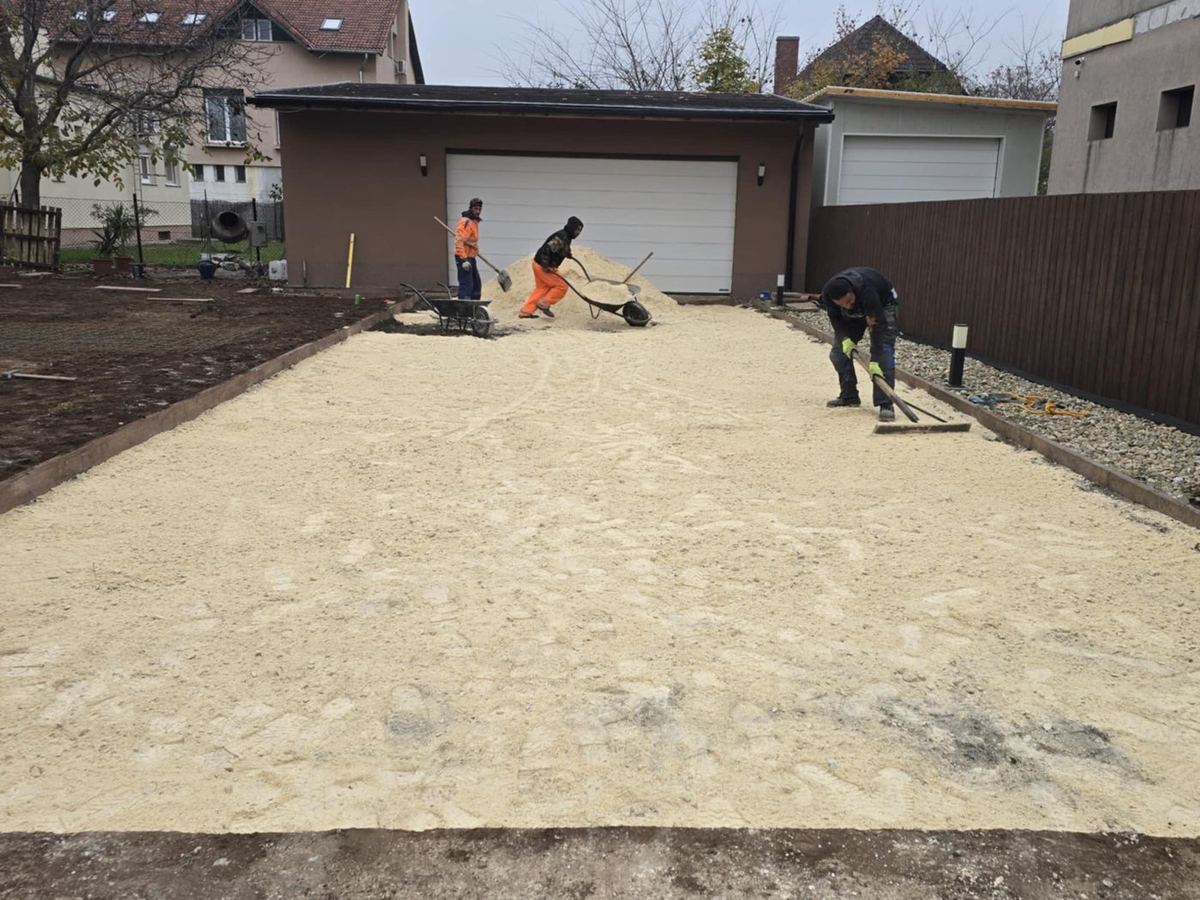
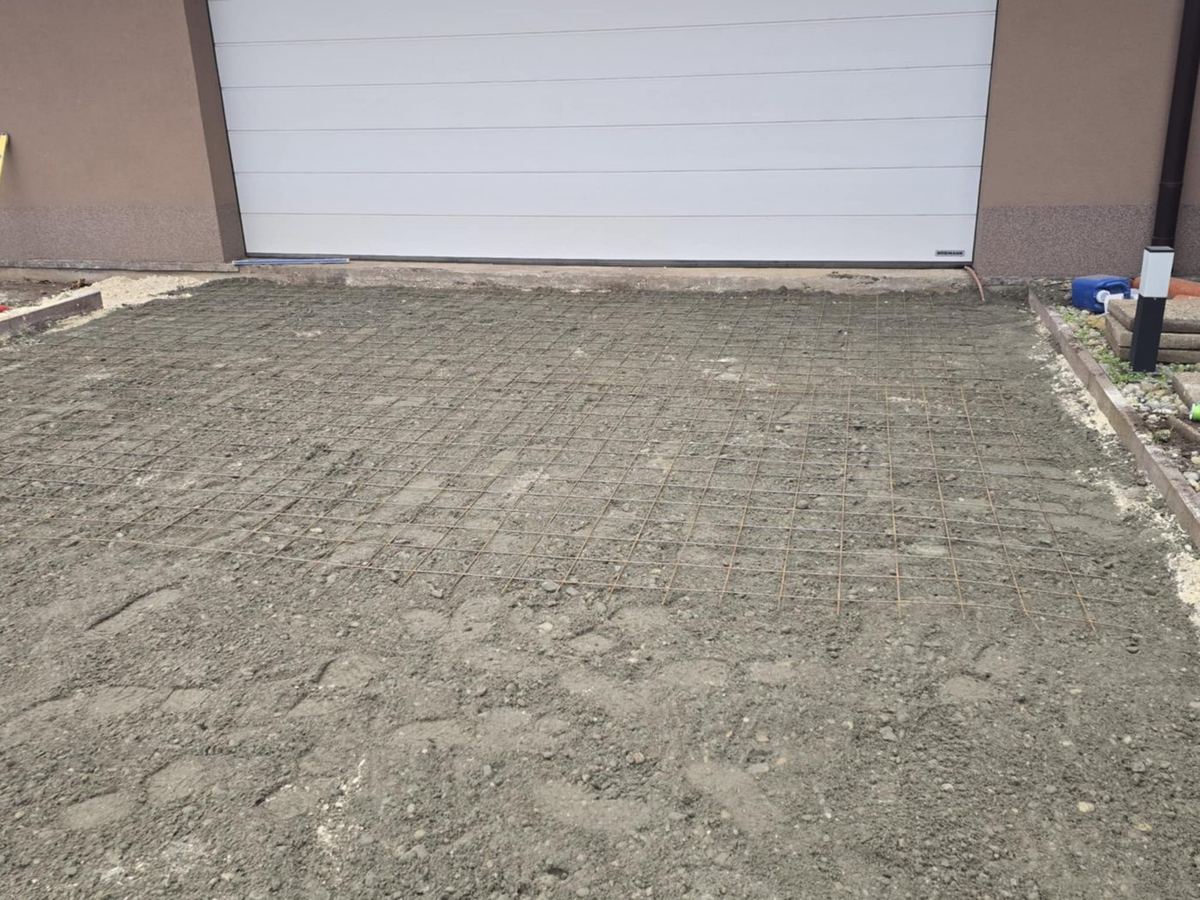
Levelling the base of a garage driveway before paving
Base levelling work on a garage driveway
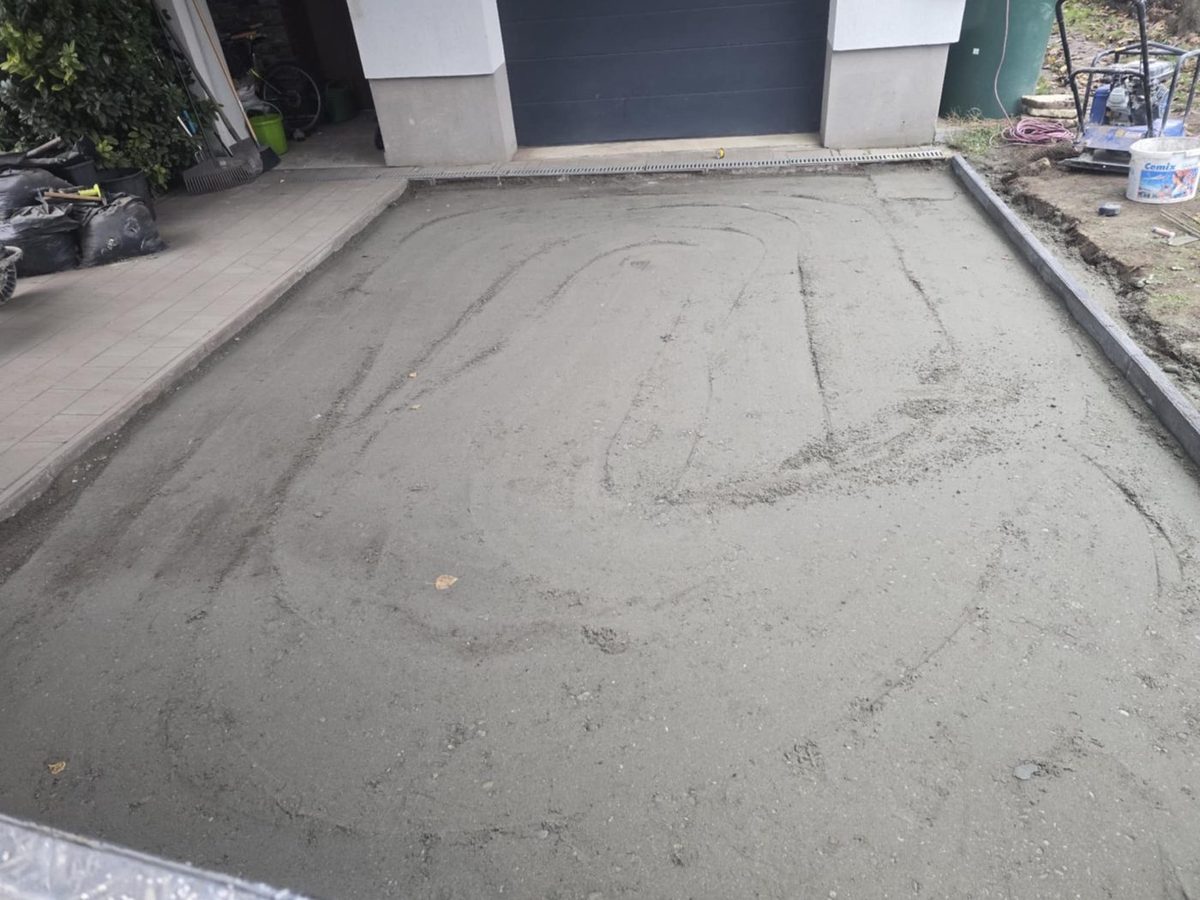
Screeded bedding layer between edgings in front of a garage door
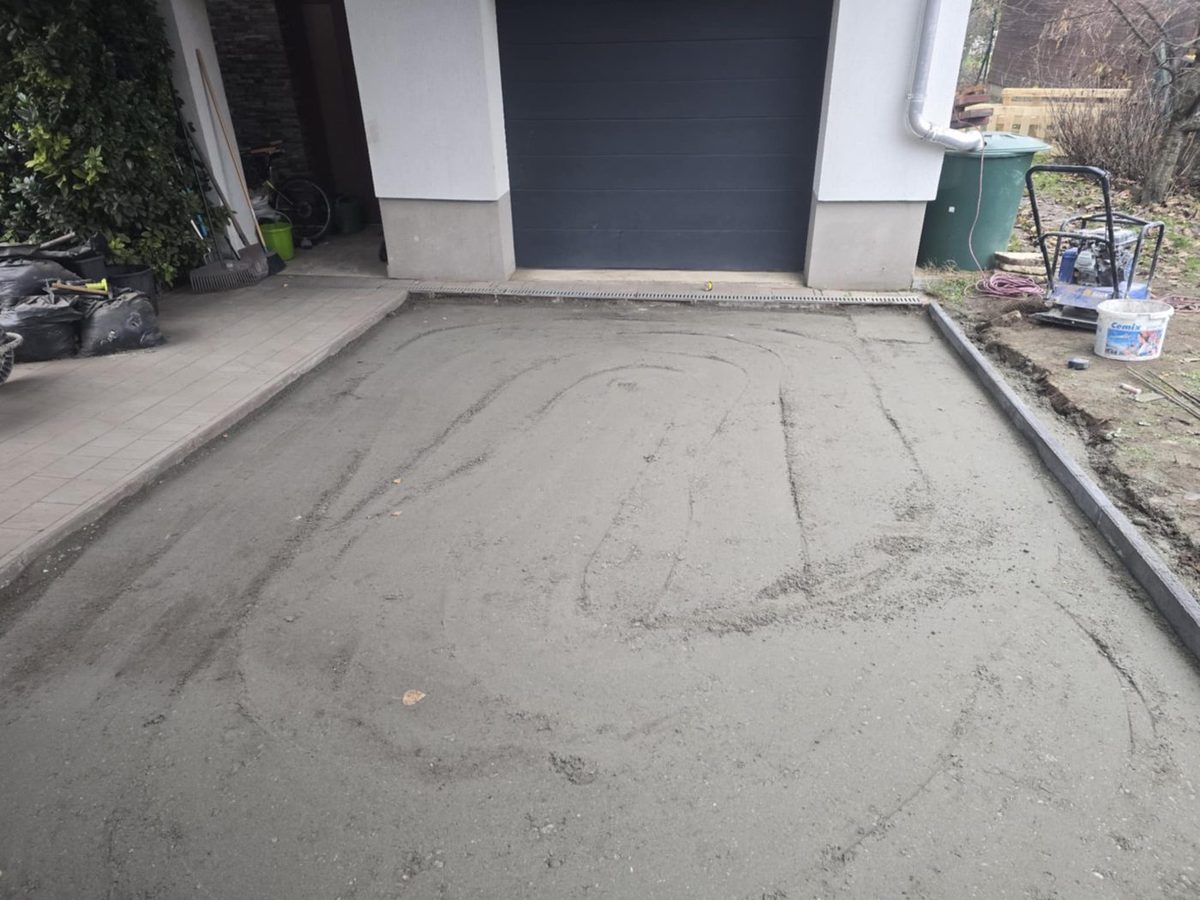
Levelled garage driveway base ready for paving
Compacted base in front of a garage door
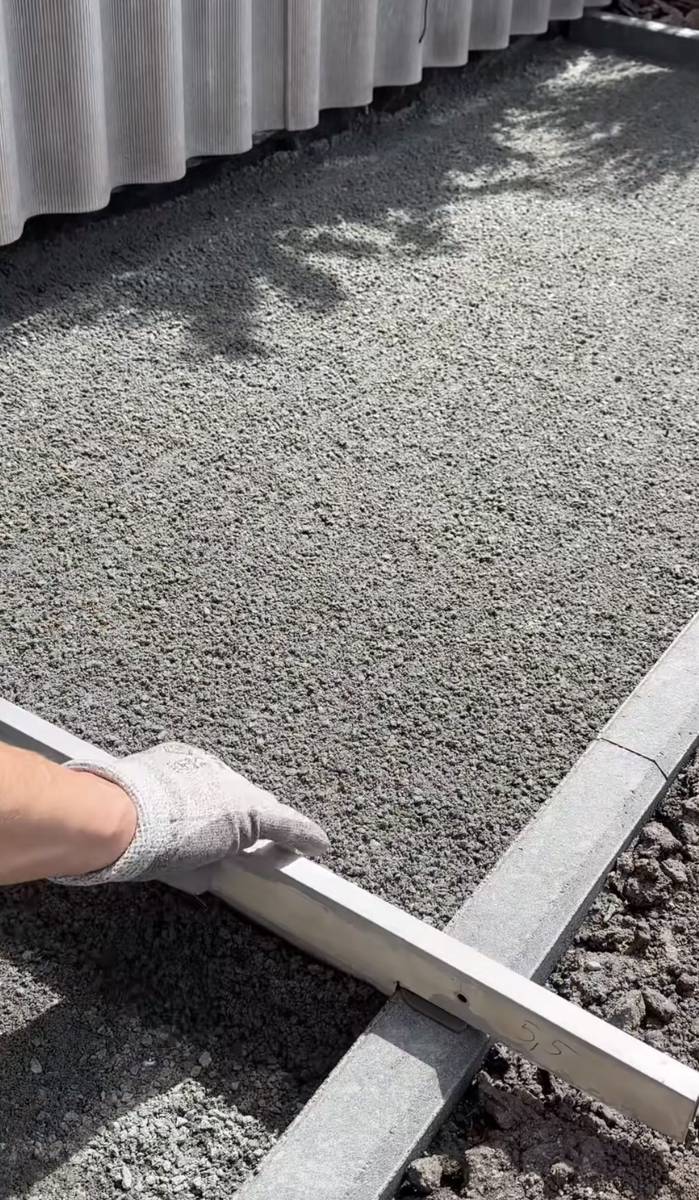
Hand-screeding the grit bed with a rail
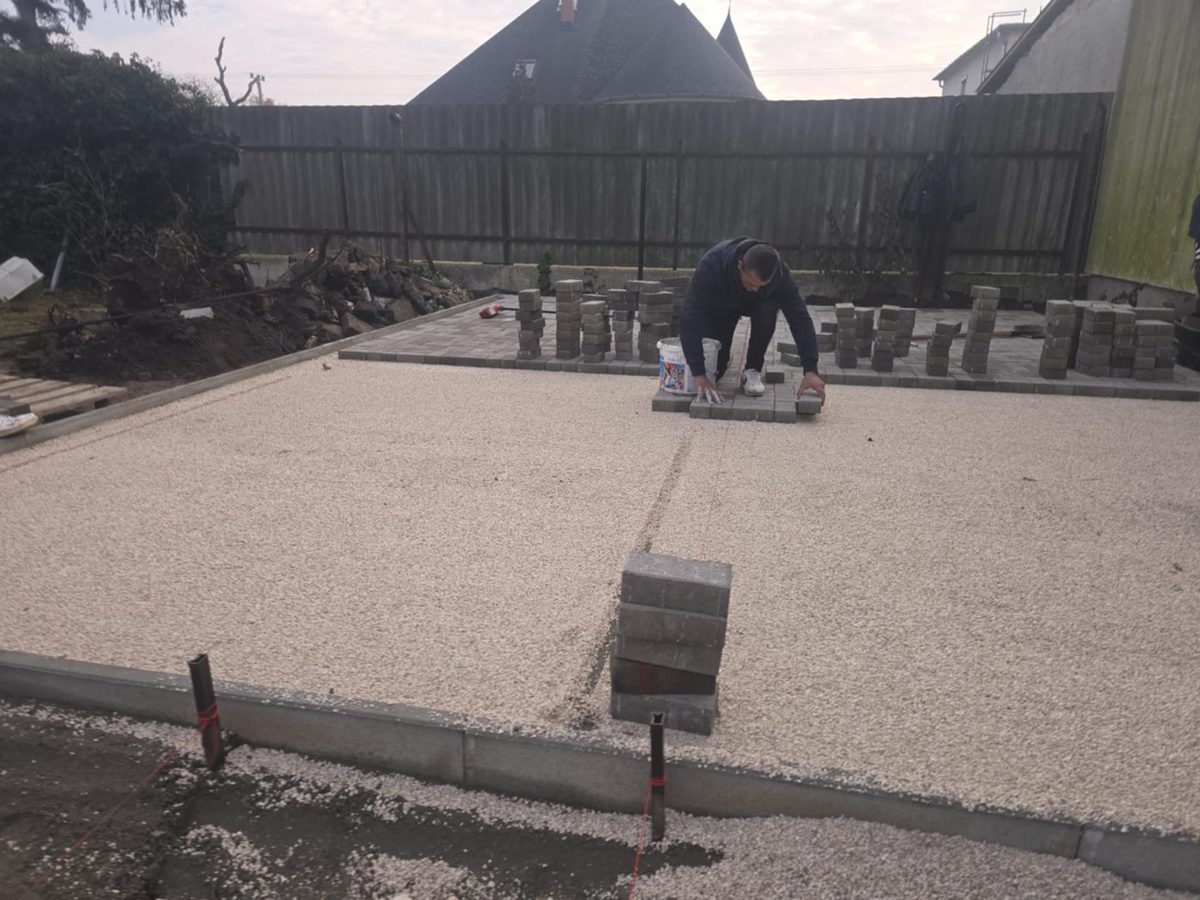
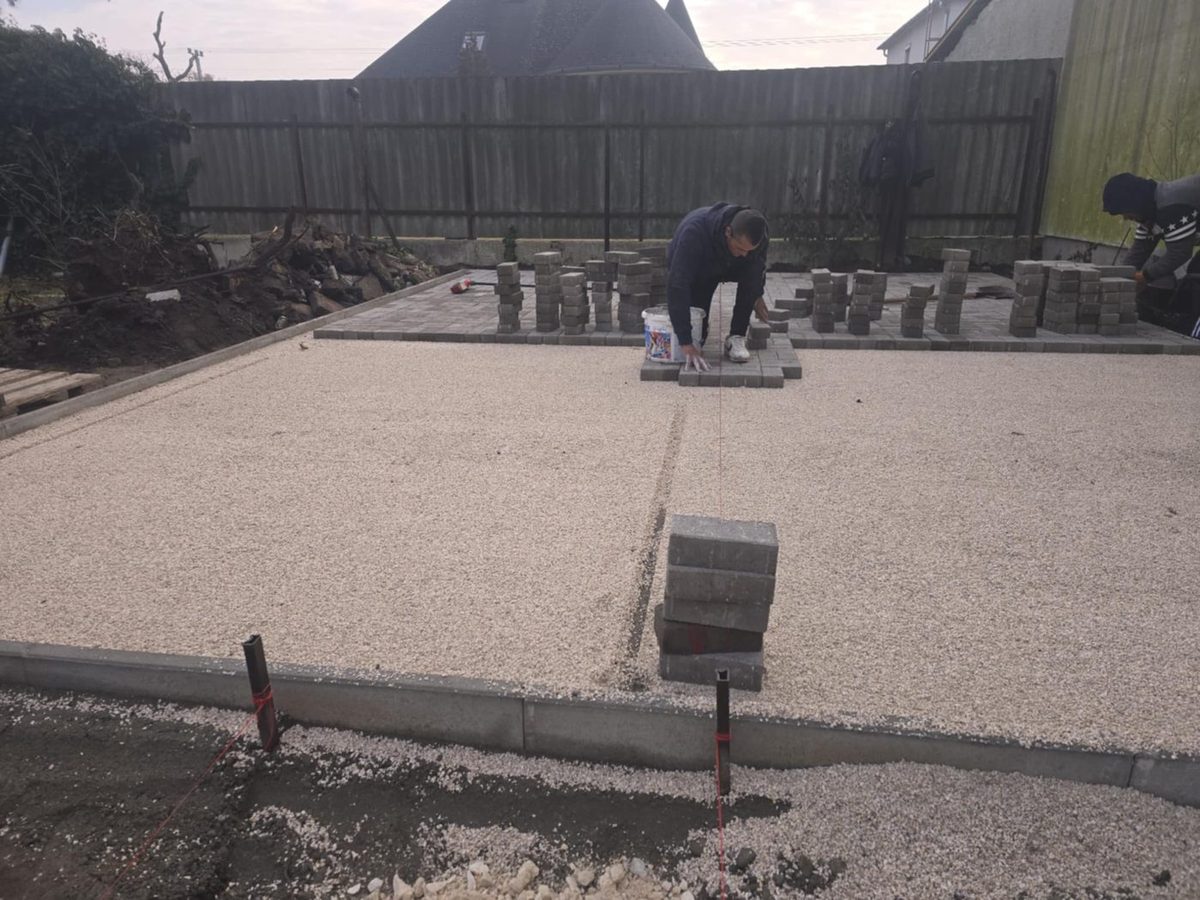
Laying pavers on a grit bed with edging already set
Hand-laying pavers on the grit bed
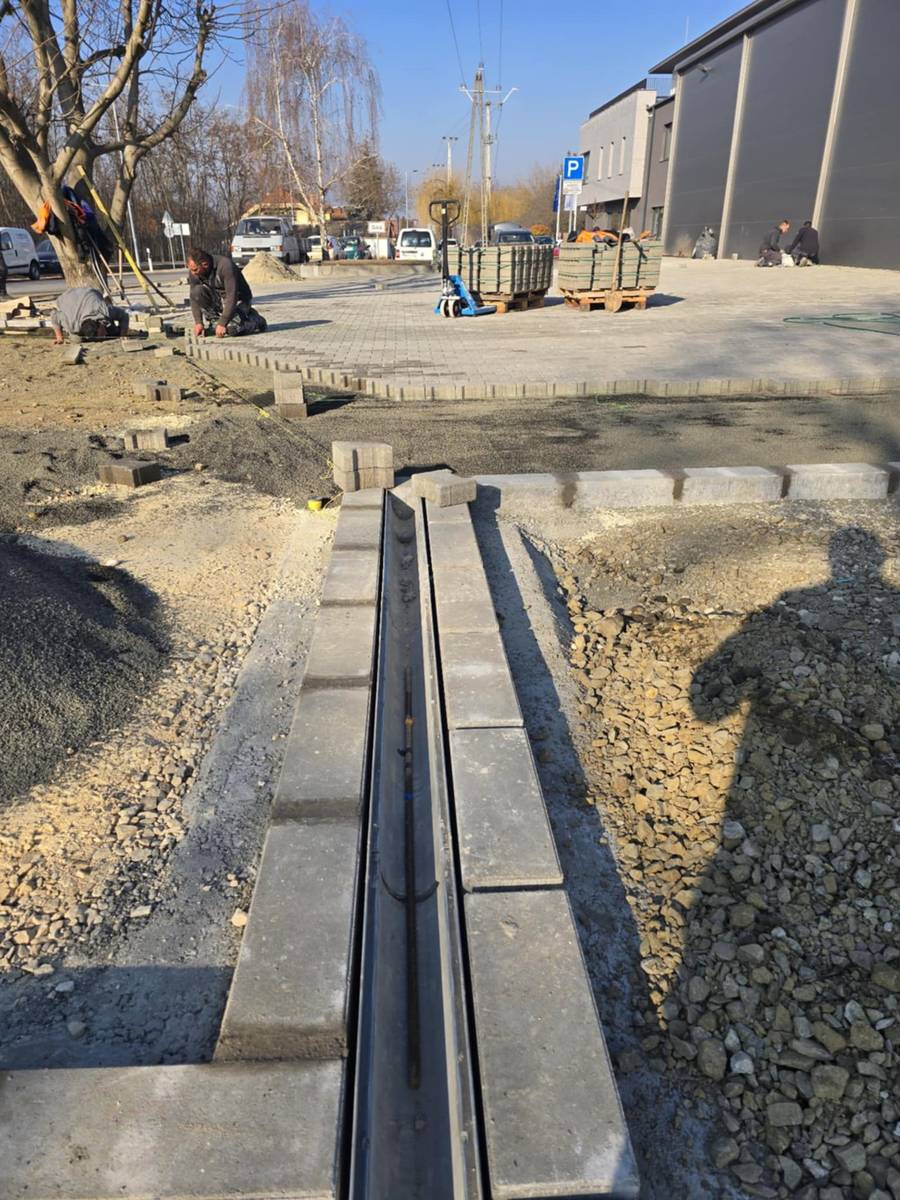
Installing a channel drain between kerbs
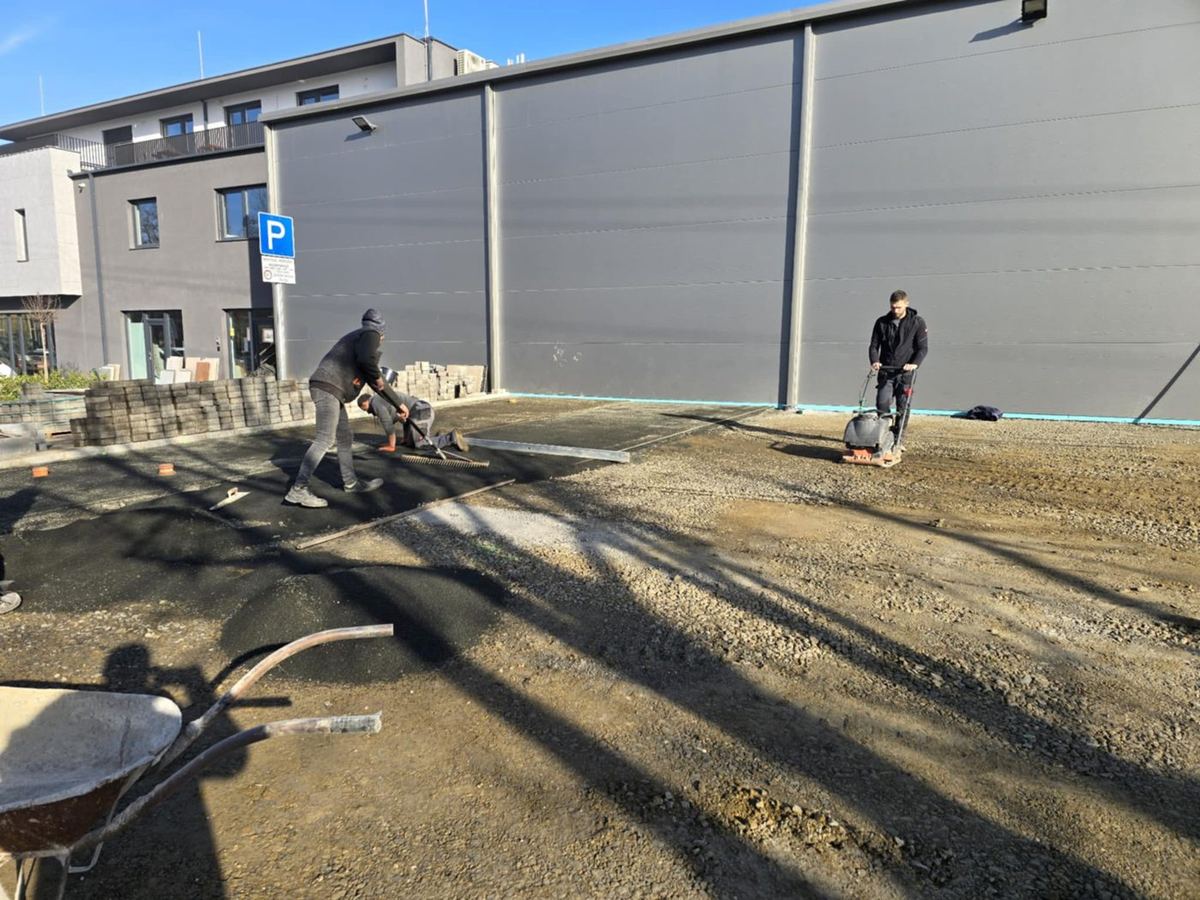
Plate compactor working on car park paving
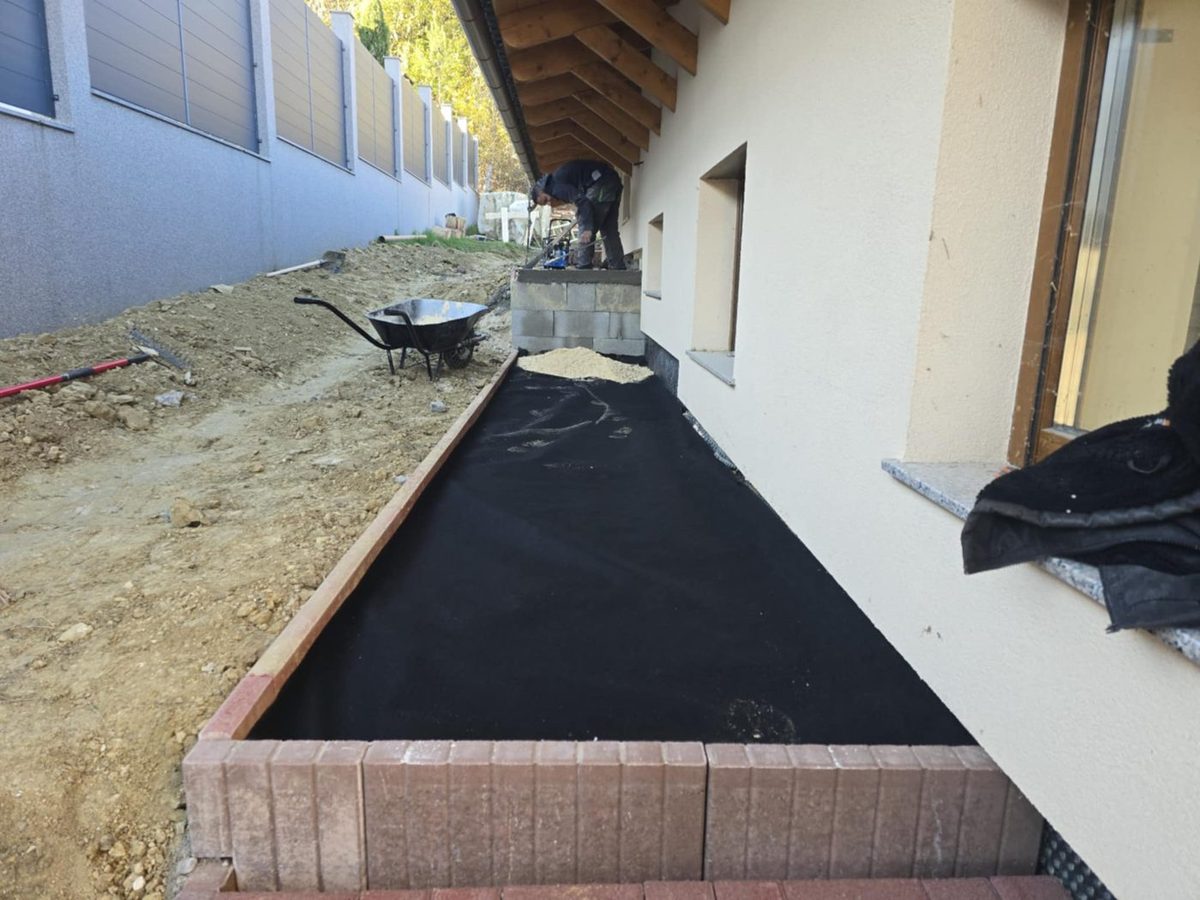
Geotextile laid and raised edging beside the house before paving
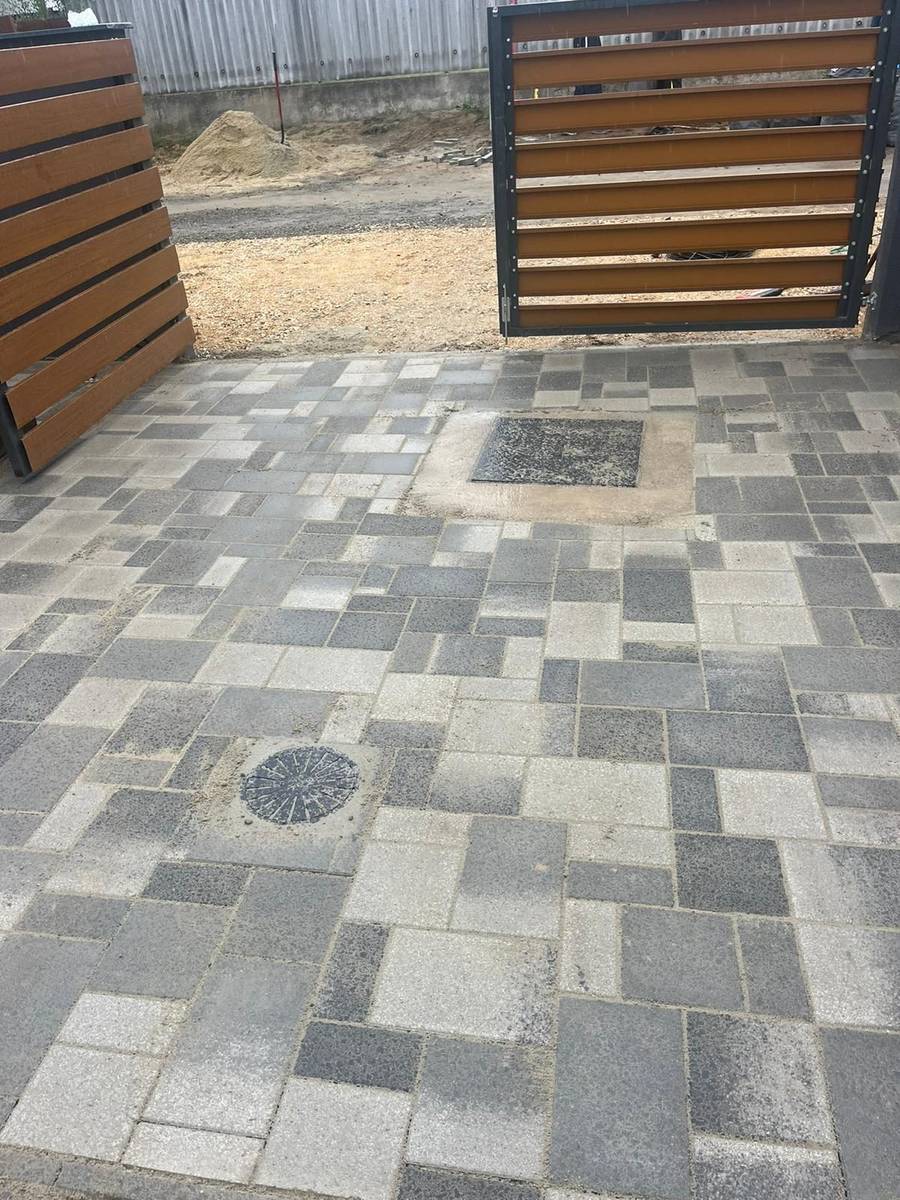
Multi-size paving neatly cut around a manhole cover
WhatsApp