Why show the layers rather than only finished paving?
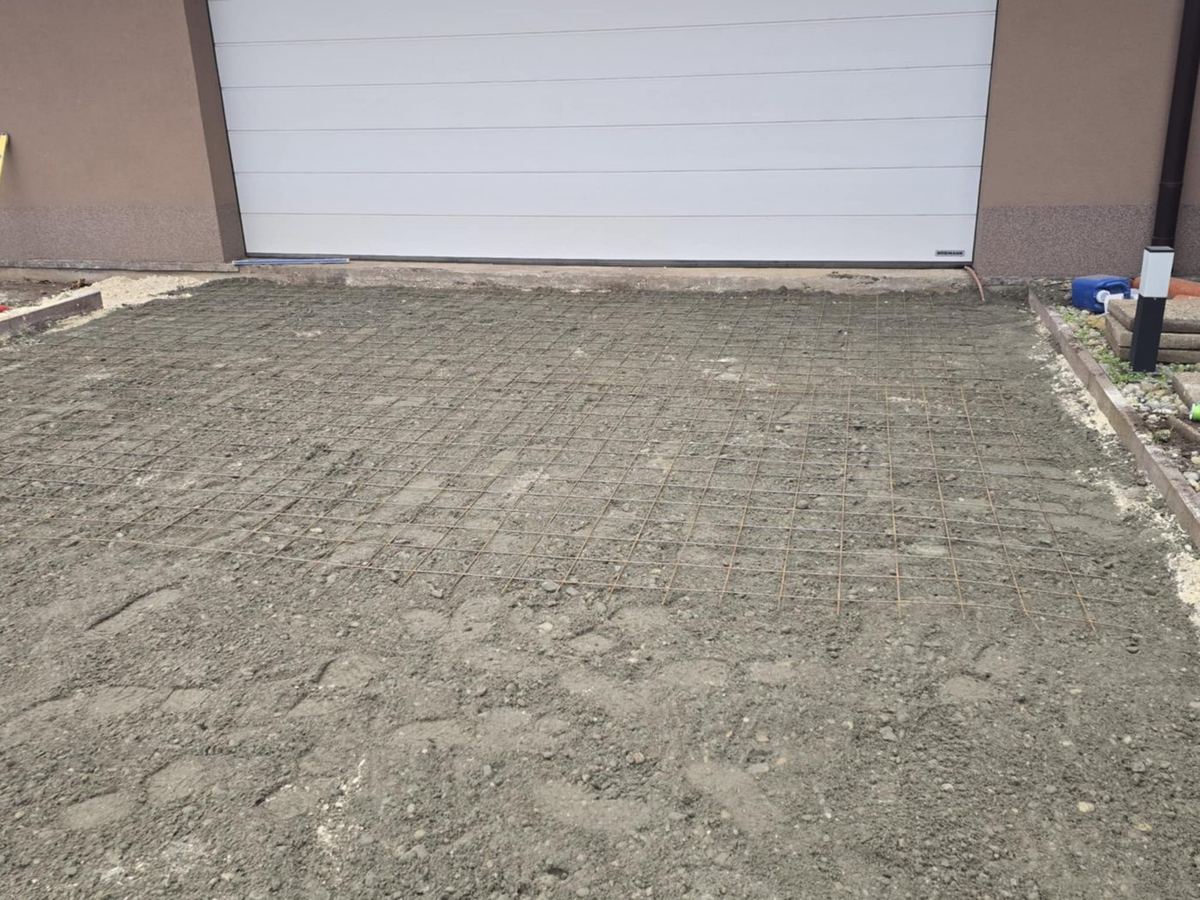
A finished repair looks much the same whether the base underneath was rebuilt or not. The difference only becomes visible months later, when a poorly repaired dip returns. That is why these pictures concentrate on the open stages: the sub-base, the bedding and the way blocks go back down, which are the parts nobody sees afterwards.
When we carry out a repair for you, you receive the same kind of record for your own paving. If you live abroad or manage a community, those photos are the only practical way to confirm that the work below the surface was done.
What do the photos show at each stage?
- Lifting: a footpath with the pavers taken up so the bedding can be prepared again.
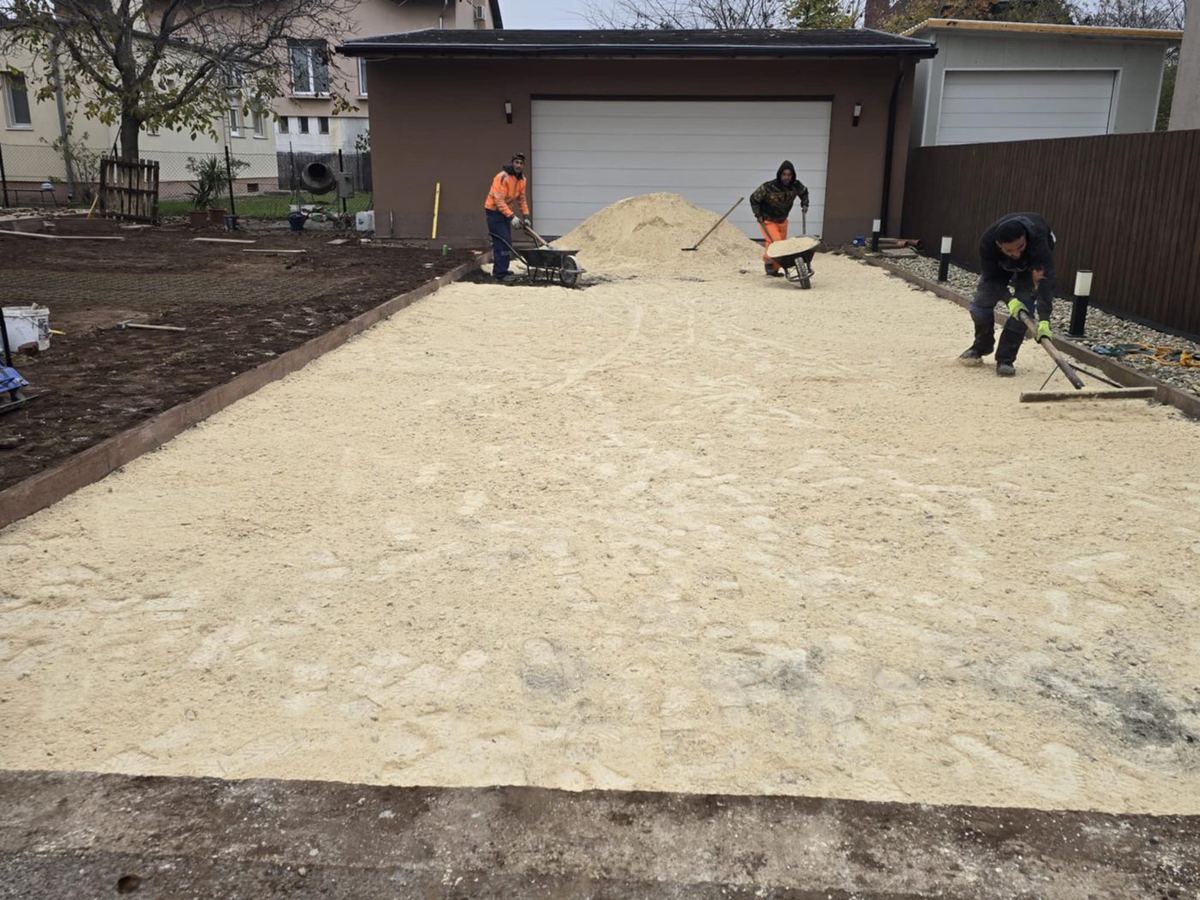
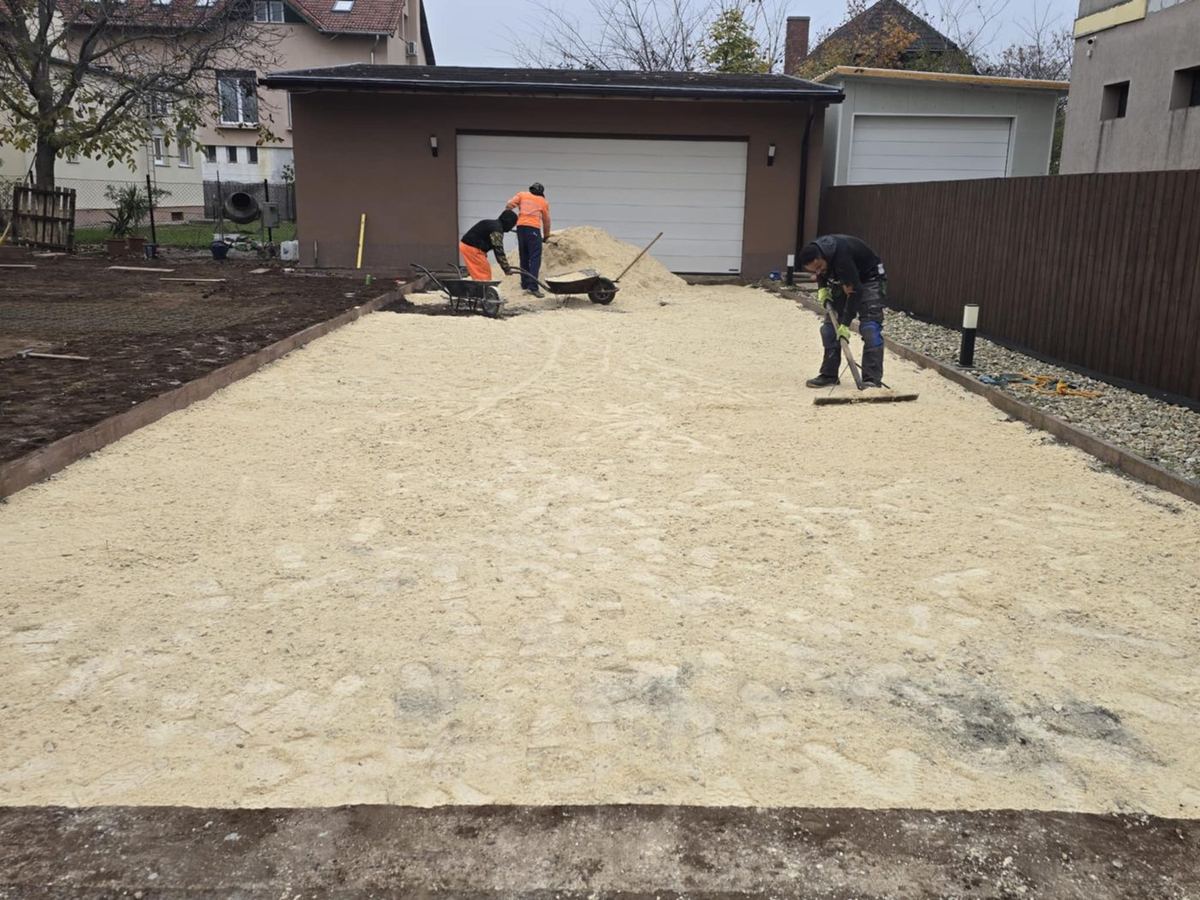
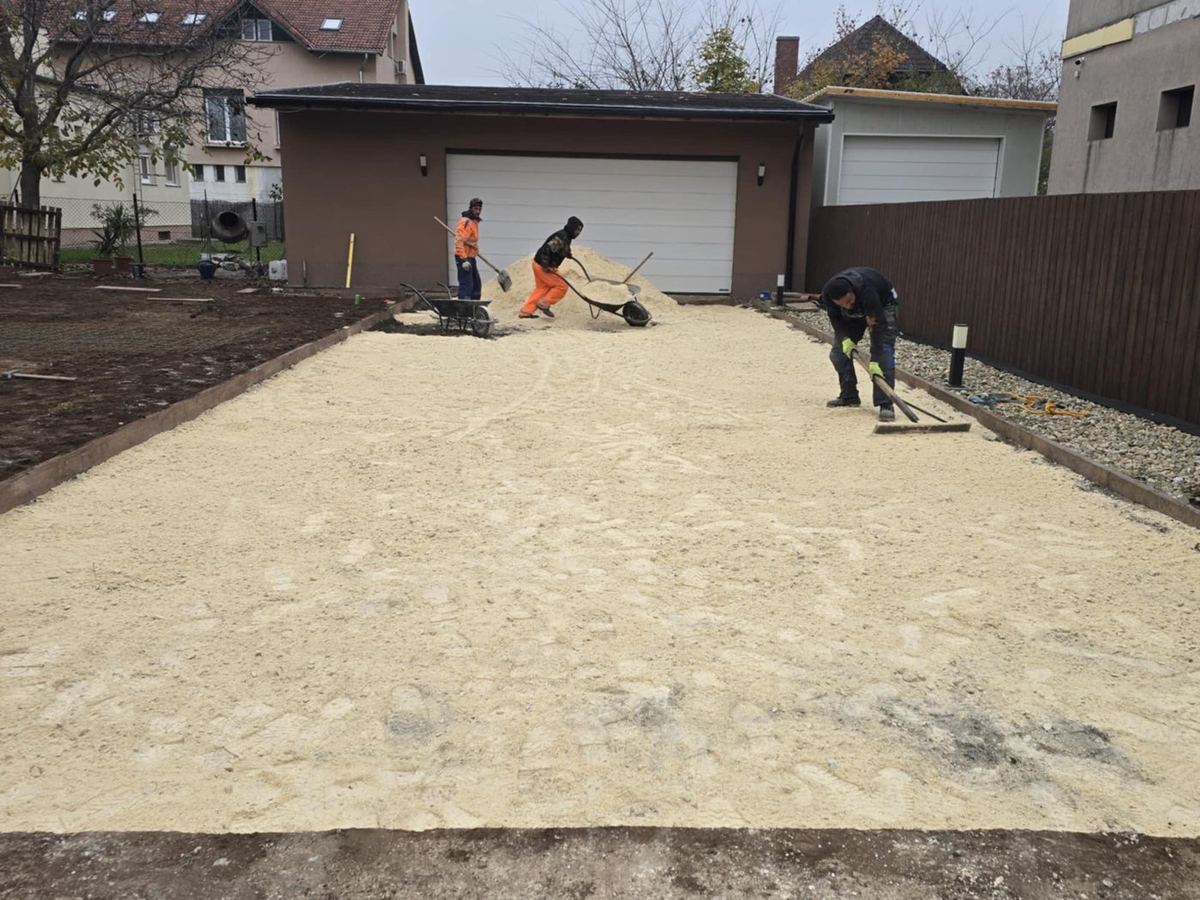
- Sub-base: granular material spread in front of a garage with rakes and wheelbarrows.
- Levelling: the same driveway base being brought to level before paving.
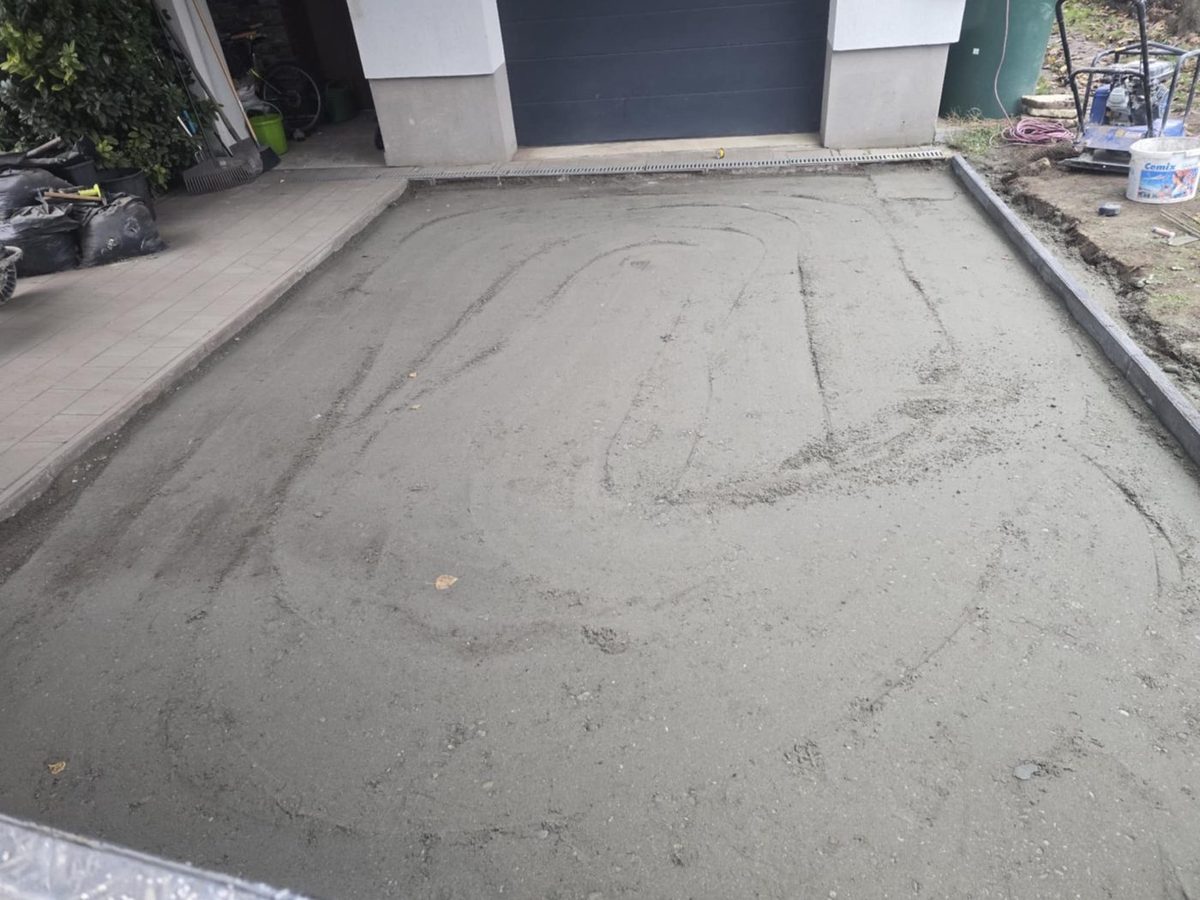
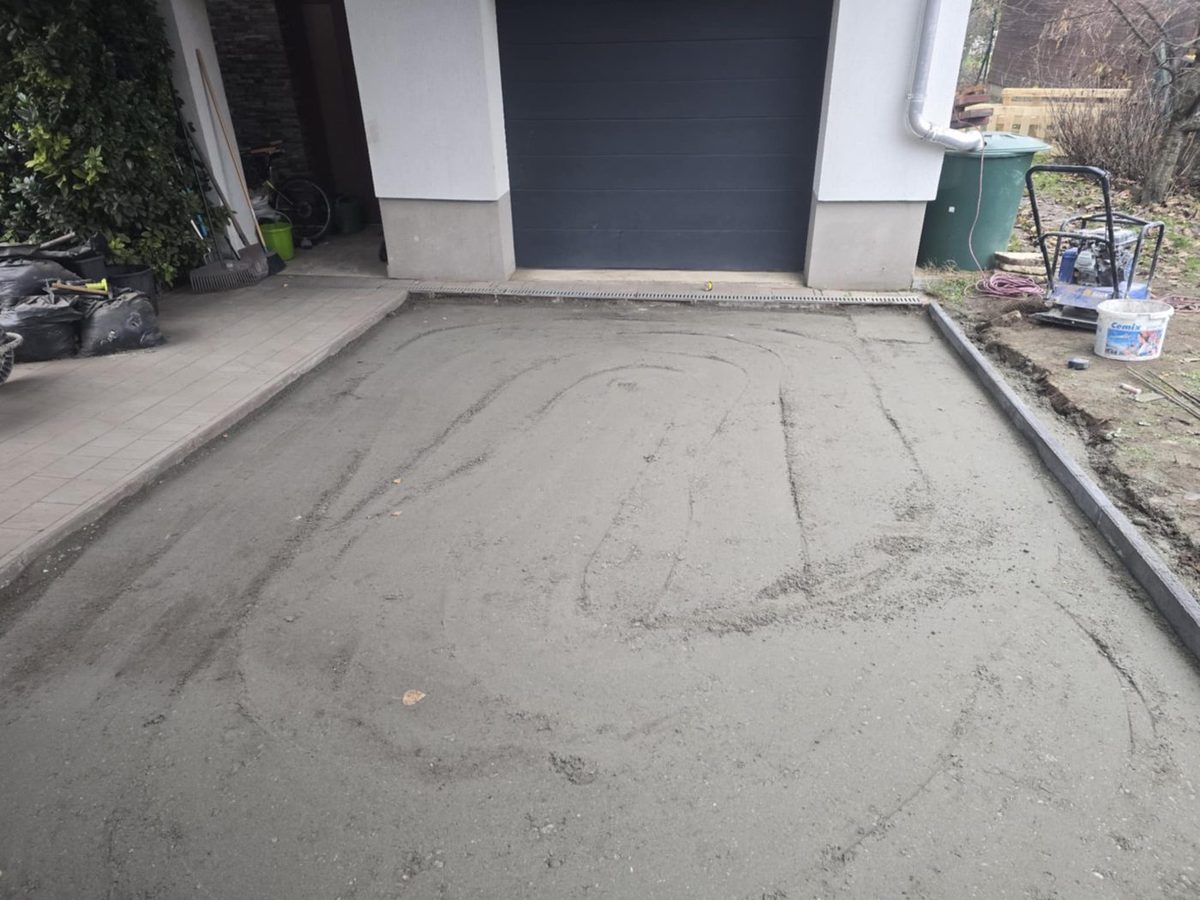
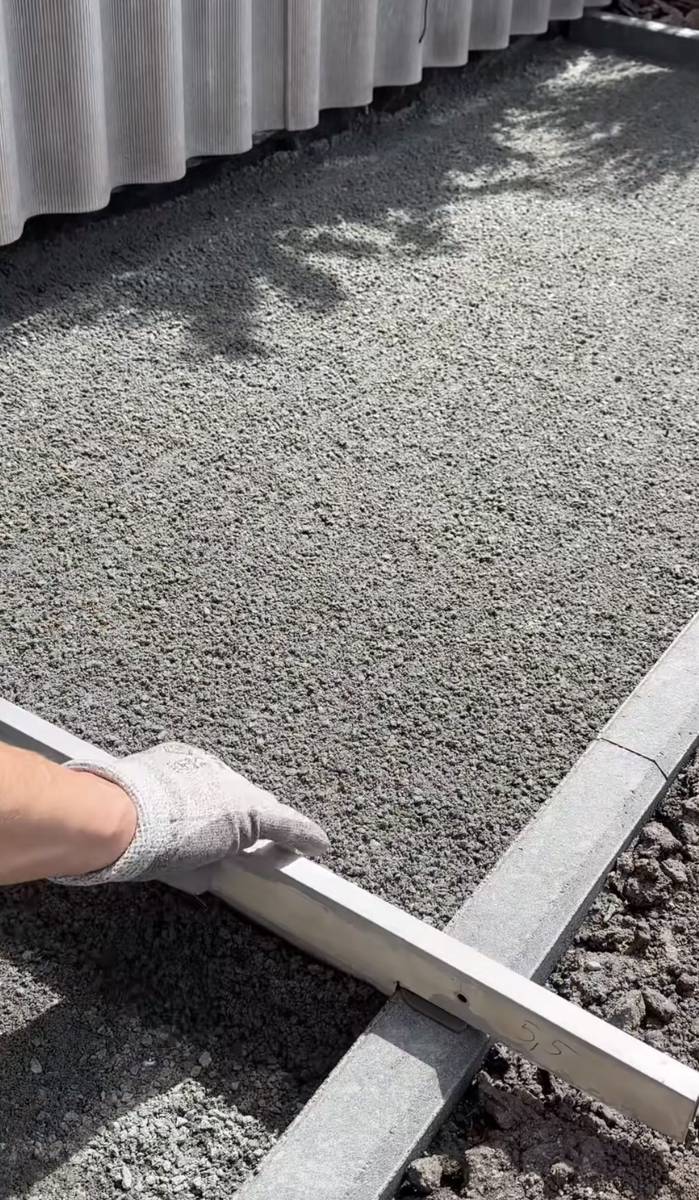
- Bedding: a screeded layer between edgings, with a plate compactor waiting in the background.
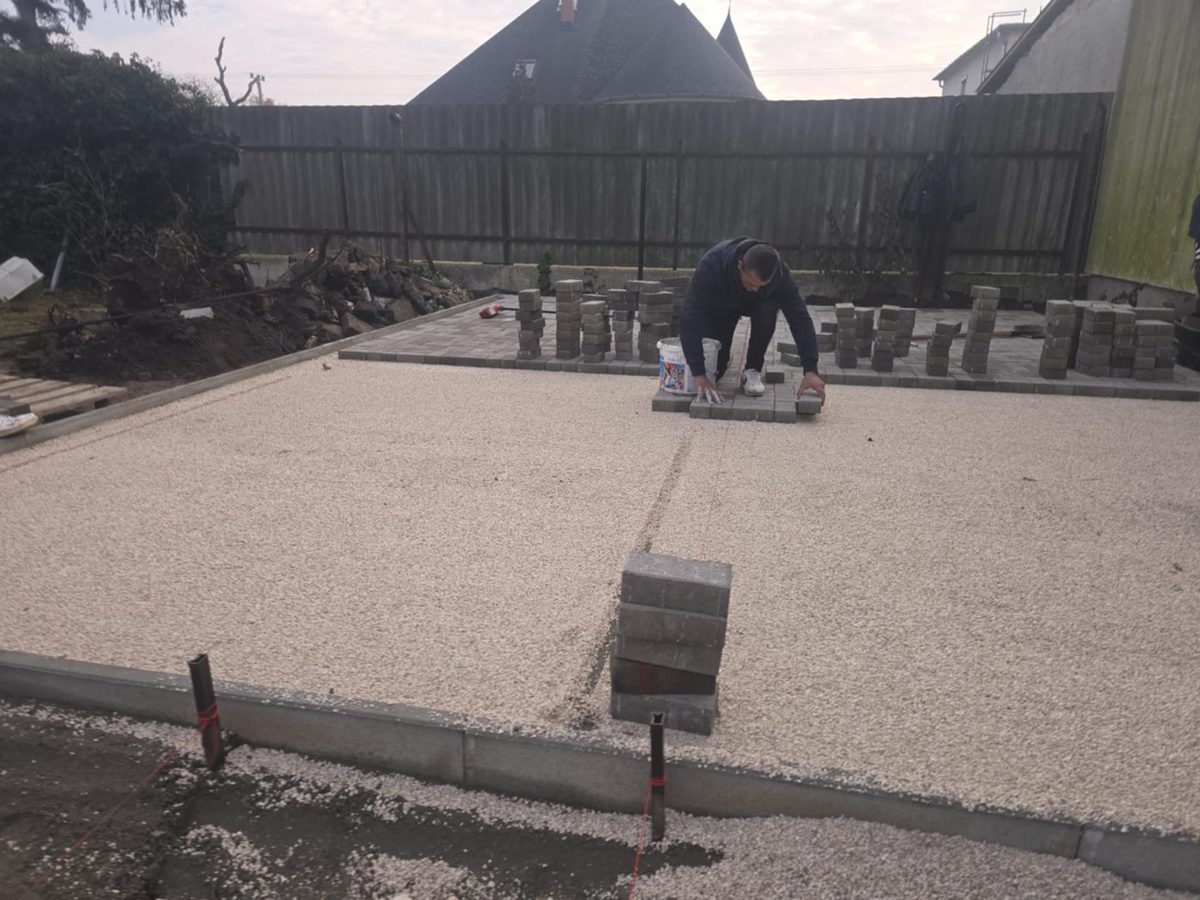
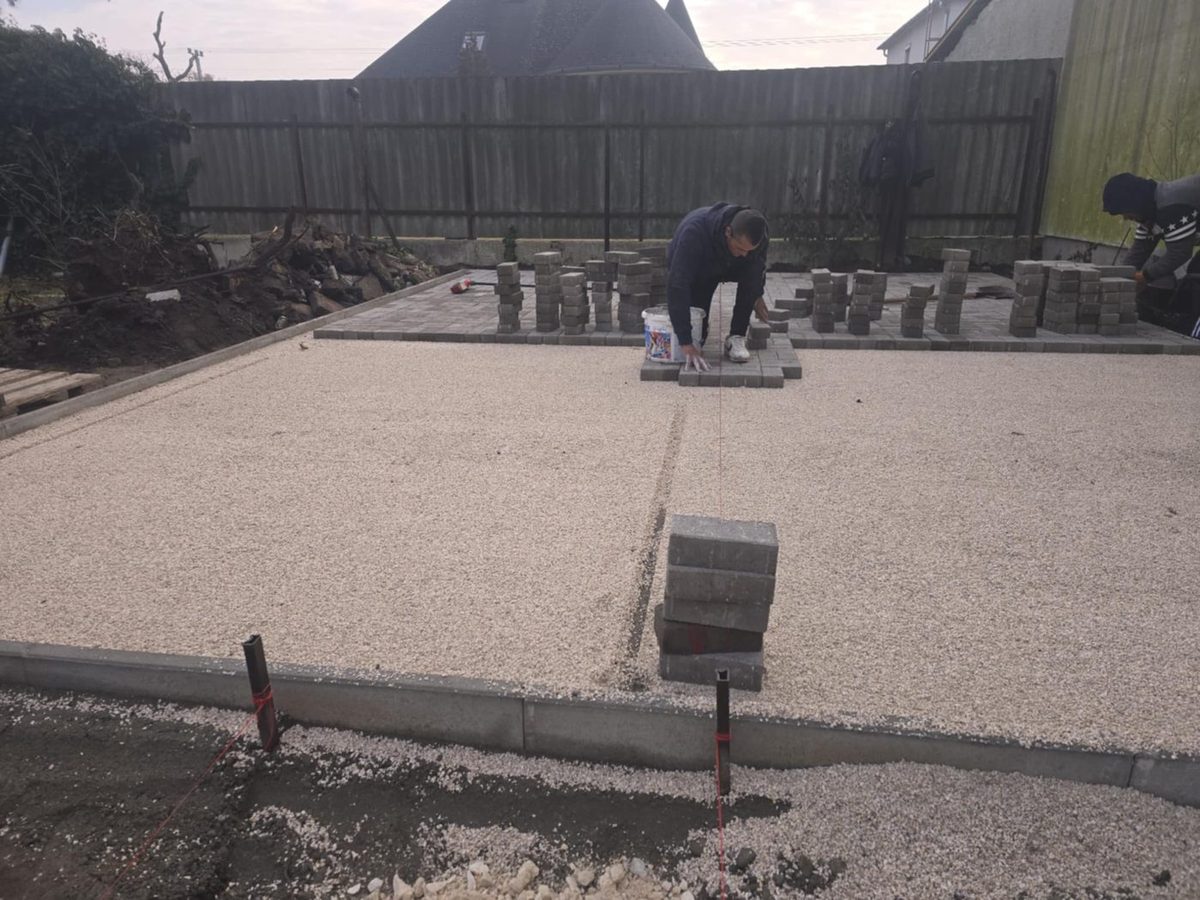
- Relaying: pavers placed by hand on a grit bed against a fixed edging, guided by a string line.
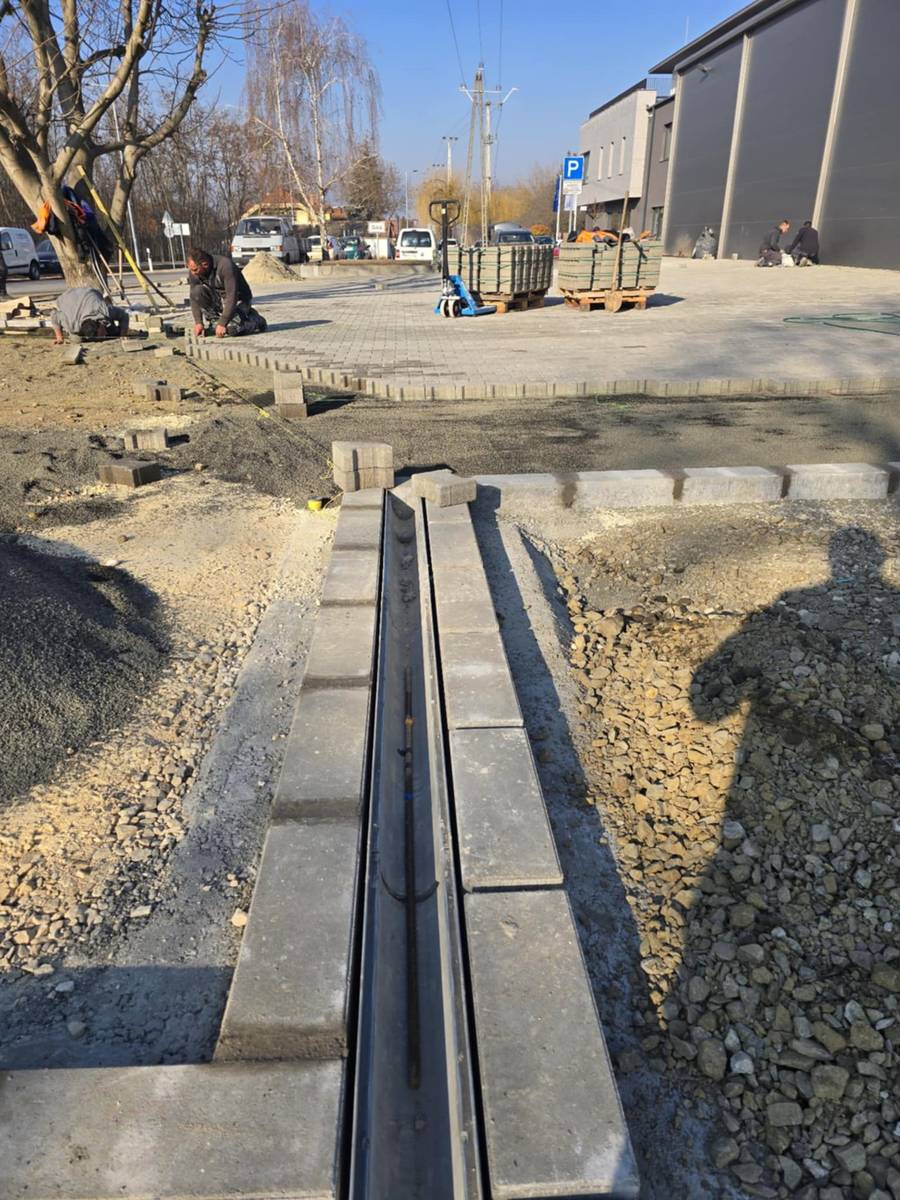
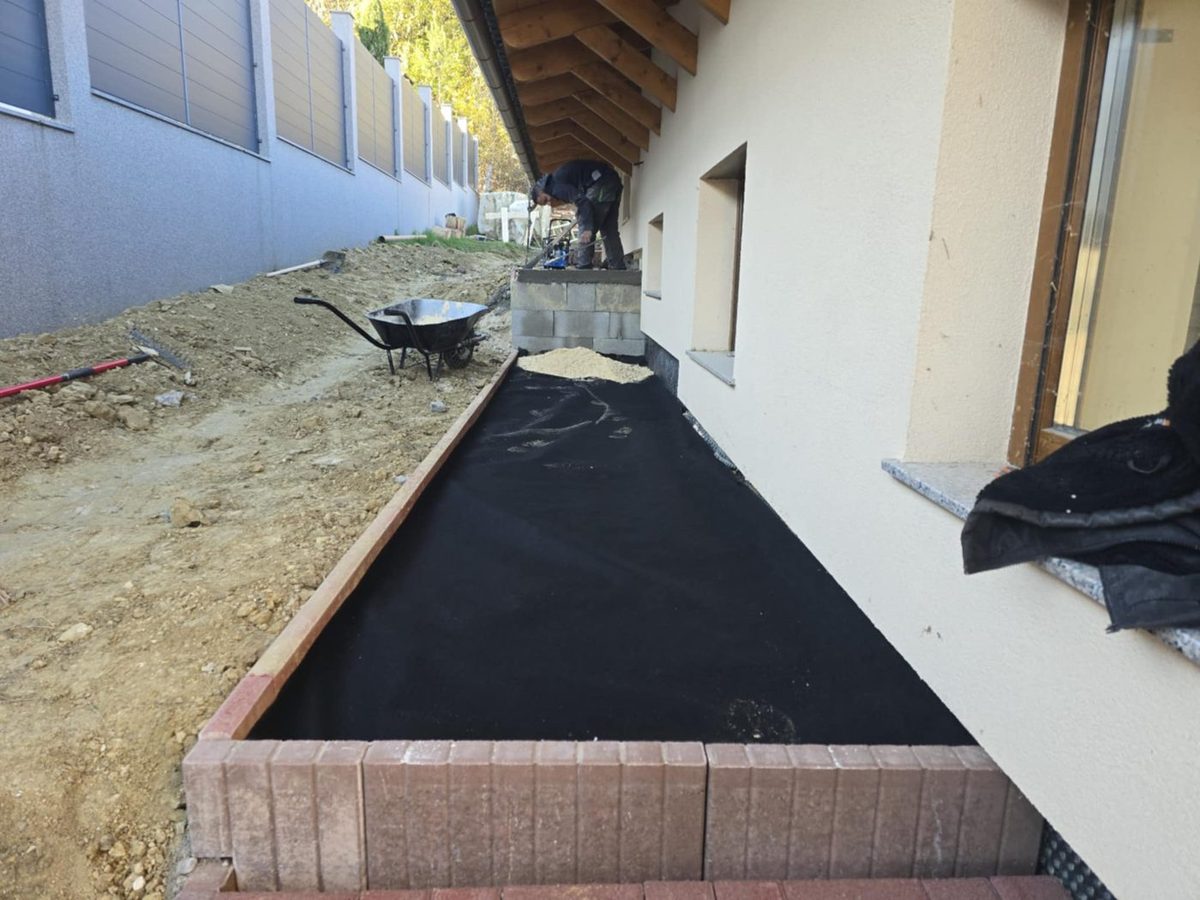
- Drainage and edges: a channel drain set between kerbs, and geotextile with a raised edging beside a house.
None of these steps is unusual. They are the normal sequence for flexible block paving, and the order matters: support first, then bedding, then blocks, then joints and compaction. Our guide repair step by step explains each stage. Skipping or rushing any of them is what usually causes a repaired dip to come back.
How can you use these photos when asking for a quote?
Use them as a checklist. Ask any contractor how they will deal with the sub-base, whether the bedding will be screeded to a consistent thickness, how edges will be secured, and whether you will receive photos of the open excavation. Clear answers to those questions say more about a repair than a picture of a finished drive. The services behind these stages are described on lift and relay and drainage and standing water.
Footpath lifted to prepare the bedding again
A paved footpath in front of a row of older houses, with the pavers lifted and the bedding being prepared before relaying. Lifting a strip like this exposes what lies beneath the blocks.

Garage driveway: sub-base spread and levelled
Granular base material spread in front of a garage with wheelbarrows and rakes, then levelled across the same driveway by the crew before any blocks are laid.
Screeded and compacted bedding between edgings
The bedding in front of a garage door, screeded flat between edgings with a plate compactor in the background, alongside a close view of hand-screeding the grit bed with a rail beside the edging.
Laying pavers on the grit bed
Pavers being placed by hand on a grit bed, with the edging already built in, a string line for alignment and packs of blocks ready nearby.
Channel drain set between kerbs
A drainage channel being installed between kerb stones on a grit bed, so surface water has a defined path off the paving.
Geotextile and raised edging beside a house
A strip along a house wall with black geotextile laid and a raised brick-red edging in place before the paving goes down.
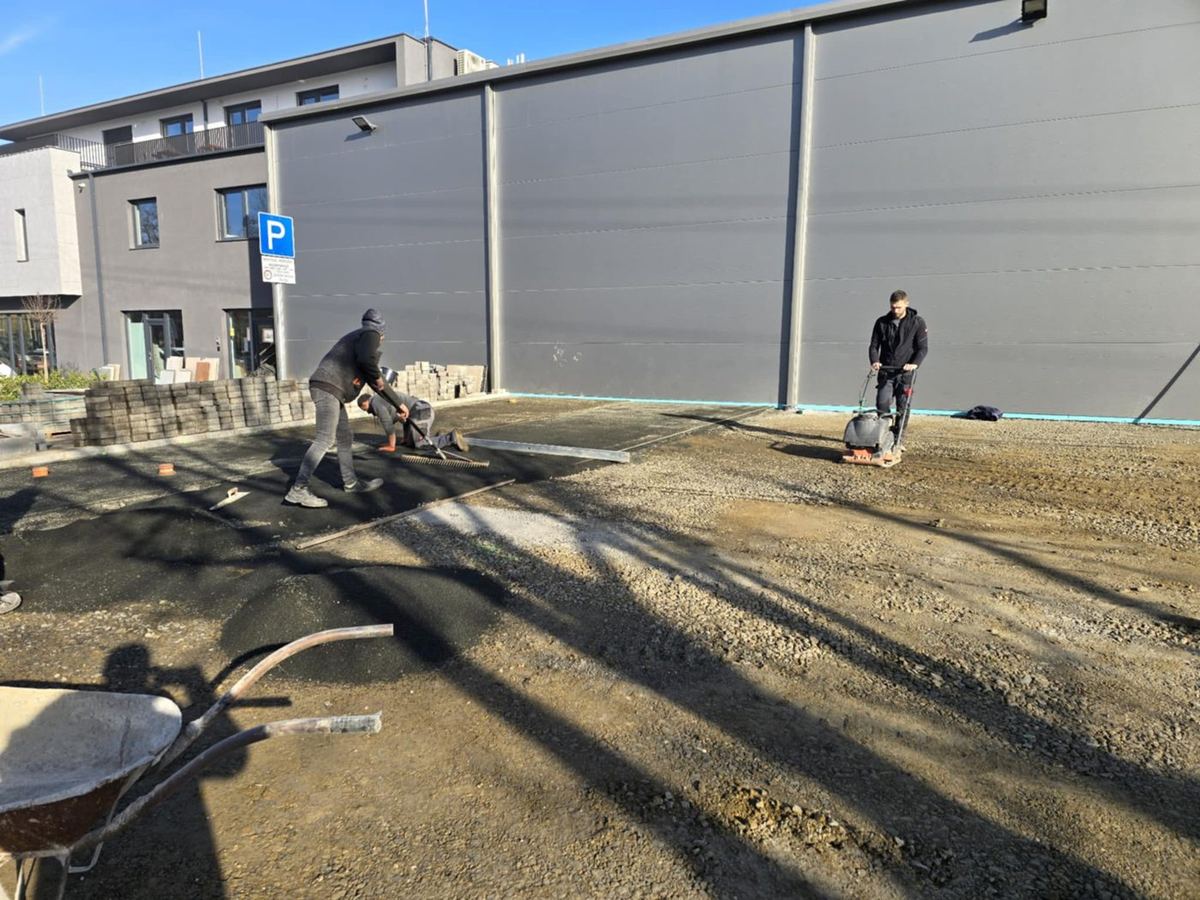
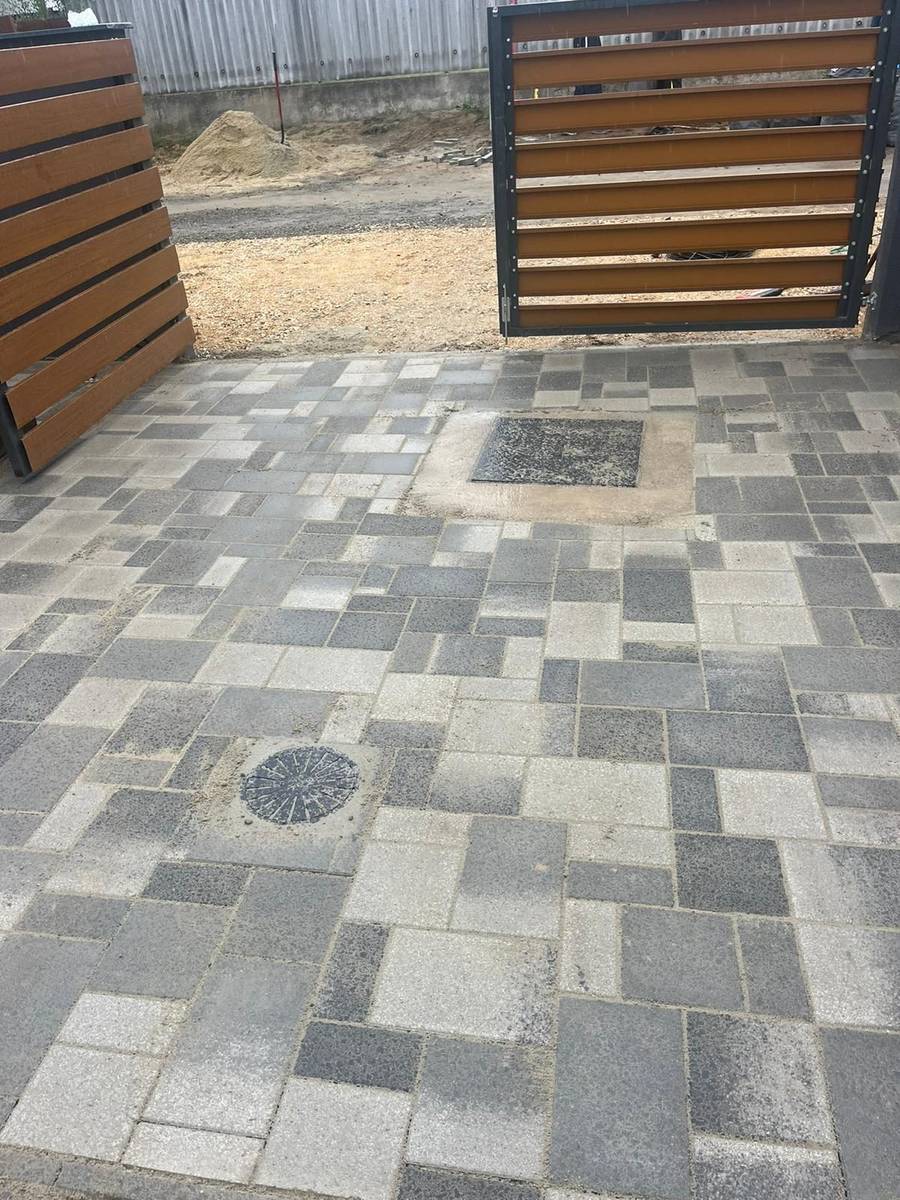
Compaction and finishing around a cover
A plate compactor working over block paving in a parking area, and mixed-size grey paving laid neatly around a manhole cover beside a sliding gate.